Build
Pickaxe Builder
Learn how to use the Pickaxe Builder to create and configure AI agents with the AI Helper, Editor, and Preview.
The Pickaxe Builder is where you create and configure your AI agents. It's organized into three main tabs across the top: the AI Helper, the Editor, and the Preview.

AI Helper
The AI Helper is the fastest way to create a Pickaxe — just describe what you want to build and it will walk you through every step of setting it up, testing it, and refining it. It can even help you configure actions.
This is a great starting point if you're new to Pickaxe or to AI in general. Just keep the conversation going until your Pickaxe is ready.
As it works, the AI Helper shows you every change it plans to make before applying it. This also makes it a handy way to learn where specific settings live inside the Editor if you want to fine-tune things yourself later.
Editor
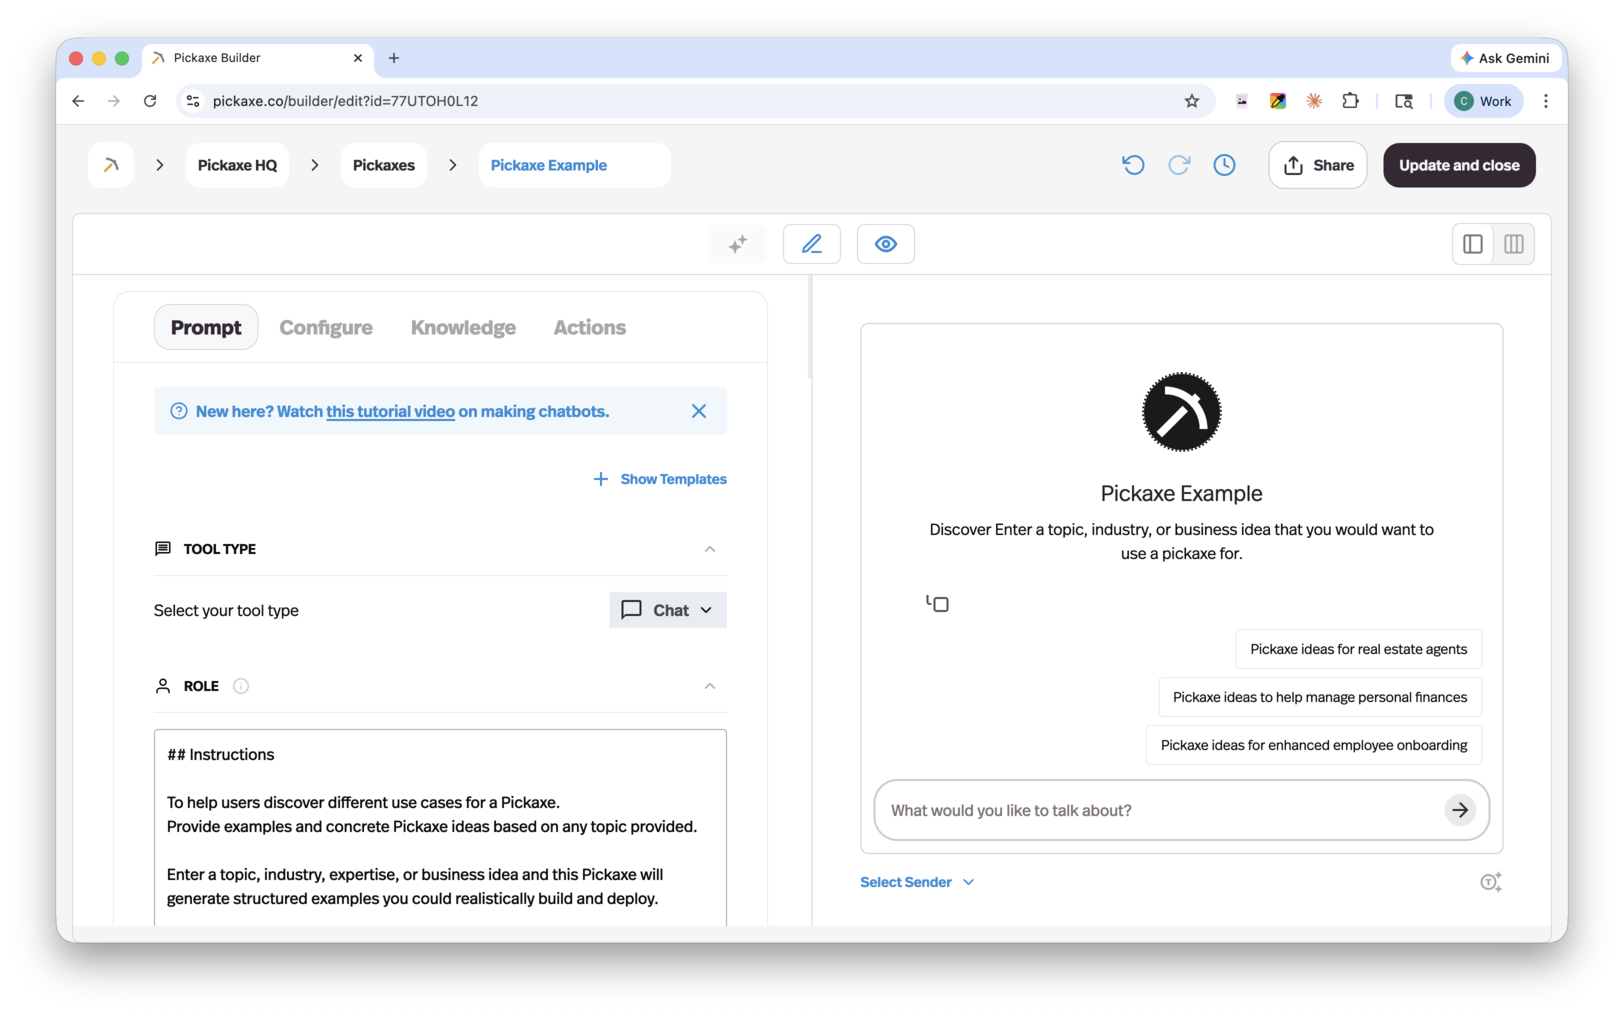
The Editor gives you direct control over every aspect of your Pickaxe's configuration. It's organized into four tabs: Prompt, Configure, Knowledge, and Actions.
Prompt
The Prompt tab is where you define how your Pickaxe thinks and behaves. It contains the following sections:
Tool type — Choose the type of tool your Pickaxe will be.
Role — Your main prompt. This is the core set of instructions that tells the AI who it is, what it does, and how it should respond. If your Pickaxe is formatted as a form, an additional Prompt Frame section appears, giving you a dedicated space to manage how form inputs are handled.
AI Model — Choose the LLM model that powers your Pickaxe. This is one of the biggest benefits of the platform — you're not locked into a single model. Some models are cheaper, some are smarter, and some are better suited for actions. Pick the one that fits your use case, and switch at any time.
Capabilities — Enable or disable features for your Pickaxe:
- Allow users to upload files
- Allow users to hear responses
- Allow users to use voice input
- Display reasoning steps to users
- Add the ability to generate images (with an option to select the image generation model)
- Add a copilot to help your users create content, tools, or snippets
Instructions — Configure how your Pickaxe greets users:
- Intro Message — A pre-set greeting that appears when a user opens the chatbot.
- Ice Breakers — Sample user messages that your Pickaxe will suggest to help start a conversation.
Model Reminder — A consistent instruction that is prepended to every user message. Use this to reinforce important rules or behaviors that the AI should always follow. Only the AI sees this message — users will not.
Configure
The Configure tab lets you customize the appearance and resource allocation of your Pickaxe:
- Logo — Set a custom logo for your Pickaxe.
- Placeholder text — Customize the input placeholder users see.
- Token allocation — View a breakdown of your token budget and control how resources are distributed across inputs, outputs, and context.
Waterfall Allocation: Tokens are allocated in a specific order:
- Memory fills first.
- Spillover goes to End-User Docs.
- Knowledge Base gets the remainder.
Knowledge
The Knowledge tab lets you add specific knowledge base content to your Pickaxe. Your Pickaxe will regularly check connected sources for updates so its information stays current.
Note: Adding knowledge here applies it to this Pickaxe only. To add knowledge at the workspace level (shared across multiple Pickaxes), go to the Knowledge Base page from your dashboard.
You can connect the following source types:
| Source type | Formats |
|---|---|
| Files from Studio Knowledge Base | — |
| Connected apps | Notion, OneNote, Google Drive |
| Web | URL |
| Audio | mp3 |
| Text files | pdf, docx, txt, xml, pptx, md |
| Video | mp4 |
| Plain text | Manual text entry |
| Images | png, jpg, jpeg, webp, gif |
| YouTube | Video, Playlist, or Channel |
| Data files | json, csv |
| RSS | Feed URL |
You also have the option to add additional context instructions for how the AI model should use the information being pulled from each source.
Actions
The Actions tab is where you connect your Pickaxe to external tools, APIs, or other Pickaxes. For more detail, see the Actions page.
Preview
The Preview tab lets you test your Pickaxe and see exactly how it responds in a live conversation. You can also select a specific user to impersonate, which is useful for testing how your Pickaxe behaves for different users or access levels.