
Writing a good prompt is easy, but it's not immediately intuitive.
And the gap between a good prompt and a mediocre one is HUGE. The same idea, written two slightly different ways, can take you from a generic, robotic blob of text to something that feels hand-crafted.
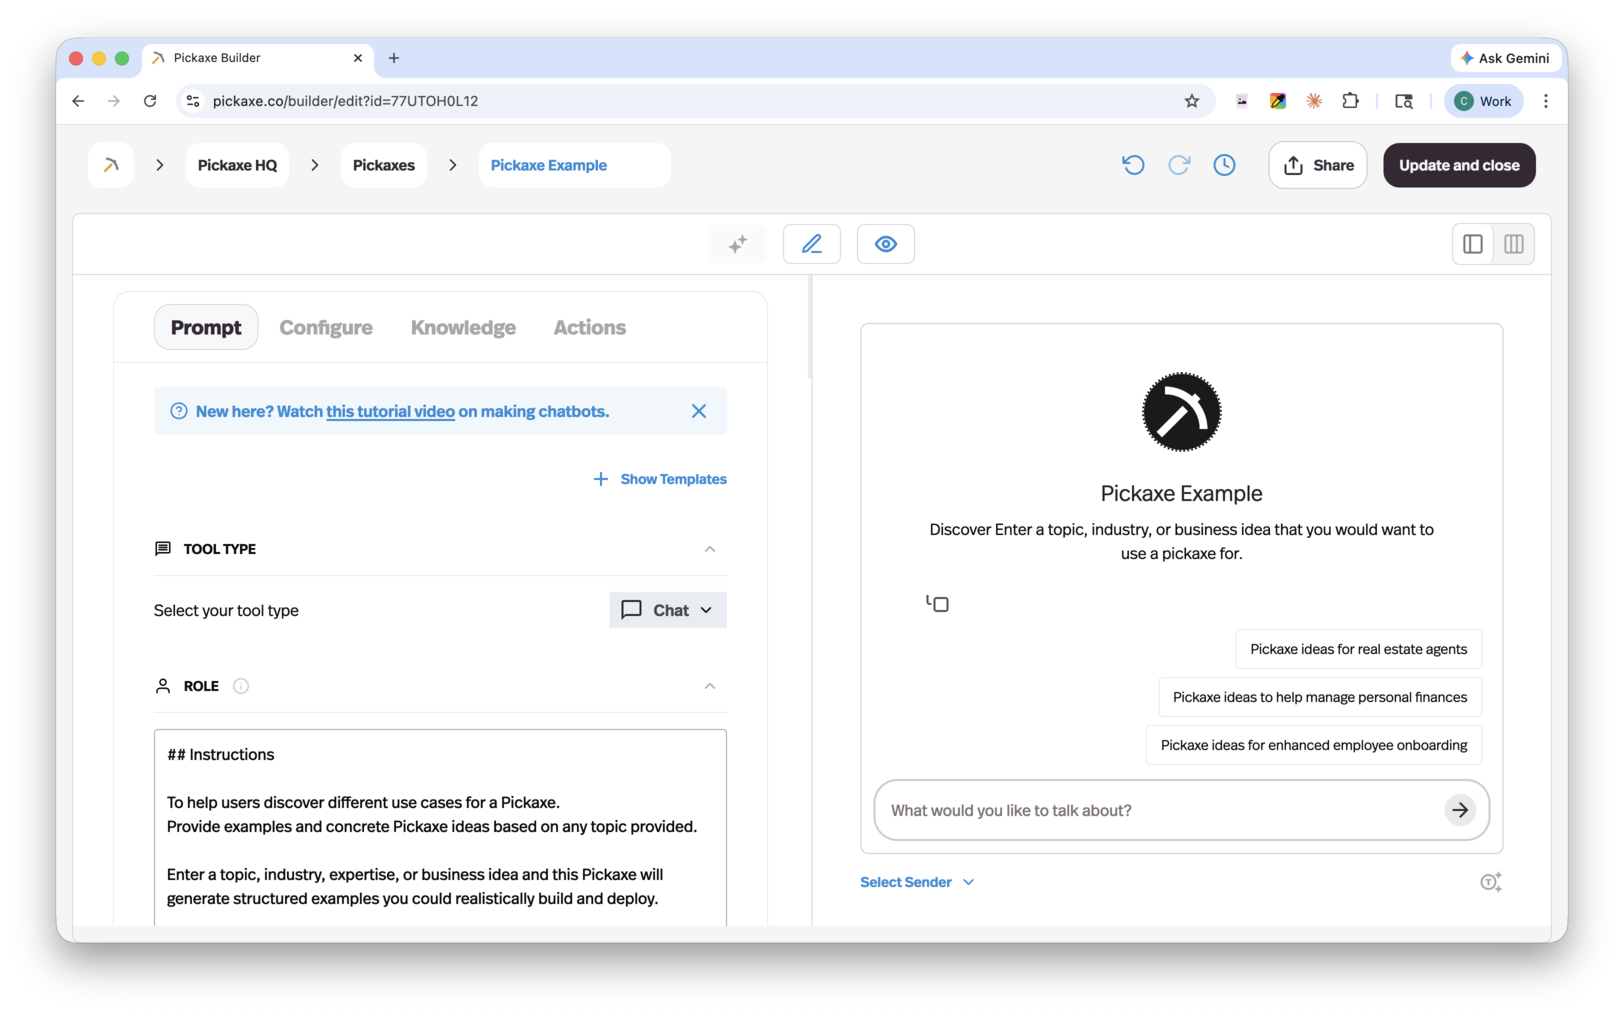
Here are five tips I come back to constantly when I'm writing prompts for modern LLMs (GPT-5, Claude 4.6 Sonnet, Claude 4.6 Opus, Gemini, etc.) inside the Pickaxe Agent Builder.
What is Prompt Design?
Prompt design is the art of writing instructions for an LLM that actually produce the results you intended.
A lot of people call this "prompt engineering," but here at Pickaxe we still prefer "prompt design." It's not an exact science. It's much closer to writing — or to design — than it is to code.
Models in 2026 are dramatically smarter than the GPT-3.5 era models people first learned to prompt on. They follow instructions better, they handle longer context, and they're a lot more forgiving. But they still respond to how you write, not just what you write. Structure, examples, and specificity are still the difference between a working agent and a frustrating one.
1. Separate Instruction & Context
There's a difference between the instruction ("do X") and the context ("…using Y"). Don't smush them together.
When you write a prompt, separate the instruction (what you're telling the agent to do) from the context (the details and circumstances). Try writing the instruction as a sentence and the context as data.
❌ A first-time user might write a prompt like:
Write a fun, casual real estate listing for a 3-bedroom 2-bathroom house in Austin, Texas with a backyard, a renovated kitchen, and hardwood floors that's listed at $625,000.✅ A prompt designer would write:
Write a fun, casual real estate listing based on the details below.

LISTING DETAILS
- Location: Austin, TX
- Bedrooms: 3
- Bathrooms: 2
- Features: backyard, renovated kitchen, hardwood floors
- Price: $625,000
Separating instruction and context makes the prompt cleaner. It's also way easier to change later. If you want to add neighborhood, school district, or renovation history, you just drop another line into the data block — you don't have to rewrite a long run-on sentence.
This is especially important when you're building a real agent in Pickaxe, because the context is usually a variable. You'll have inputs from the user, content from your Knowledge Base, or results from Actions getting injected into the prompt — keeping that stuff visually separate from your instructions saves you a lot of debugging later.
2. Specify the details you want
If you want something specific, tell the machine. Otherwise it won't know.
This sounds obvious. Somehow it's the thing people forget the most.
Let's say you want a tweet about the Super Bowl. Think about what type of tweet you want. Call out the recognizable traits of "a tweet" as you mean it — because the model's idea of a tweet is much broader than yours.
❌ First-time user:
Write a tweet about the Super Bowl.✅ Prompt designer:
Write a single tweet (under 280 characters) about the Super Bowl.

REQUIREMENTS
- Tone: dry, slightly sarcastic, like a sports columnist who has seen too many games
- Voice: first person
- No hashtags
- No emojis
- End on a punchline, not a question
Modern LLMs are smart enough to follow long lists of requirements. Don't be shy. The more you tell them about the shape of what you want, the closer the first draft will land.
3. Use examples to guide style
Not getting an output you like?
Feed the machine samples of what you do like. Examples are the single most powerful prompting technique I know — Anthropic's multishot prompting guide and OpenAI's prompt engineering guide both put them at the top of the list, and for good reason. The model is a pattern-matcher. Show it the pattern.
❌ First-time user:
Write a product description for a new running shoe.✅ Prompt designer:
Write a product description for a new running shoe.

Match the voice and rhythm of the EXAMPLES below.

EXAMPLES
1. "Built for the long haul. The Drift 3 has a softer midsole, a roomier toe box, and a heel collar that finally stays out of your Achilles' way."
2. "Designed for tempo days. Light, snappy, and just stiff enough to feel like cheating on the last mile."
3. "Your daily trainer, but quieter. Less bounce, more roll. The kind of shoe you forget you're wearing."
Don't forget — you can keep stacking these techniques. Add structure, add specificity, add examples. Layering is the move. Keep iterating until the output feels right.
4. Use examples to guide formatting
If you want a particular format, show the model the format. Don't just describe it.
❌ First-time user:
Summarize this article and pull out the key points.✅ Prompt designer:
Summarize the ARTICLE below using the exact format shown in EXAMPLE.

EXAMPLE
TL;DR: One sentence that captures the whole article.

Key points:
- Point one (max 12 words)
- Point two (max 12 words)
- Point three (max 12 words)

Why it matters: One short paragraph, 2-3 sentences max.

ARTICLE
{{article}}
If you want JSON, show JSON. If you want a table, show a table. If you want bullet points that are exactly 12 words long, show three bullets that are exactly 12 words long. The model will copy you. This is also a great pattern when you're hooking the agent up to Actions or downstream code that expects a specific shape.
5. Use ALL CAPS to designate labels
Sometimes you want to label parts of your prompt.
For example, you might want to label DESIRED FORMAT, EXAMPLES, CATEGORIES, or RULES. It helps to mark these in a special way so the model understands they're labels, not body content.
ALL CAPS works great. So do XML-style tags like <rules>…</rules>, ##Double Hashtags##, or //code-style comments//. Pick a convention and stick with it inside a single agent. Anthropic's docs are particularly fond of XML tags with Claude — they're worth trying if you're building on Claude 4.6.
❌ First-time user:
Categorize this support ticket. The categories are billing, bug, feature request, or other. Then write a reply. Be friendly. Sign off as "The Team".✅ Prompt designer:
You are a support agent. Categorize the TICKET, then draft a REPLY.

CATEGORIES
- billing
- bug
- feature_request
- other

RULES
- Tone: friendly, calm, never defensive
- Length: under 120 words
- Sign off: "The Team"

OUTPUT FORMAT
Category: <one of the categories above>
Reply:
<the reply text>

TICKET
{{ticket}}
A few more tricks worth knowing
LLMs still function as auto-complete engines. While it's important to separate instruction and context, the last few words of your prompt have an outsized influence on what comes next. Don't forget that.
If you've written a good prompt and still aren't getting what you want, stack the deck. Pack some extra explicit instruction at the very end, in caps if you have to.
Here's an example. Imagine a satirical Twitter agent that's supposed to write funny, mean tweets in response to news headlines.
A first draft might end with something polite like:
Now write the tweet.A more caustic version ends with:
NOW WRITE THE TWEET. BE MEAN.Those last three words pull the whole output in a different direction. The model is genuinely paying attention to the tail of your prompt.
You can also use auto-complete to your advantage by leading the model into an answer. A response that starts with "Unfortunately," is going where you think it's going — even your own brain knows. You can prefill openings like that to bias the response.
Use the Pickaxe-specific tools that exist for this
If you're building inside Pickaxe, a few features exist specifically to make iterating on prompts faster:
- Model Reminder — a short instruction that gets prepended to every message the user sends. This is gold for keeping the agent in character or enforcing a rule the model keeps drifting away from. Things like "Always respond in fewer than 80 words" or "Never break character as a friendly librarian" belong here, not in the system prompt where they can get lost.
- AI Helper — a conversational copilot inside the Agent Builder that can rewrite, critique, and expand your prompt while you work. Treat it like a pair-programmer for prompts. Ask it to "make this more specific" or "add a few-shot example" and watch the diff.
- Preview tab — test your prompt right next to the editor. Tweak a line, hit run, see the result. This is where 90% of the actual prompt design happens. Don't try to write the perfect prompt in your head; iterate in Preview.
- Ice Breakers — sample messages that show users what the agent is good at. Writing these forces you to be honest about what your agent actually handles well.
- Knowledge Base & Actions — when your prompt is straining under the weight of "context," that's usually the signal to move it into a Knowledge Base document or behind an Action instead.
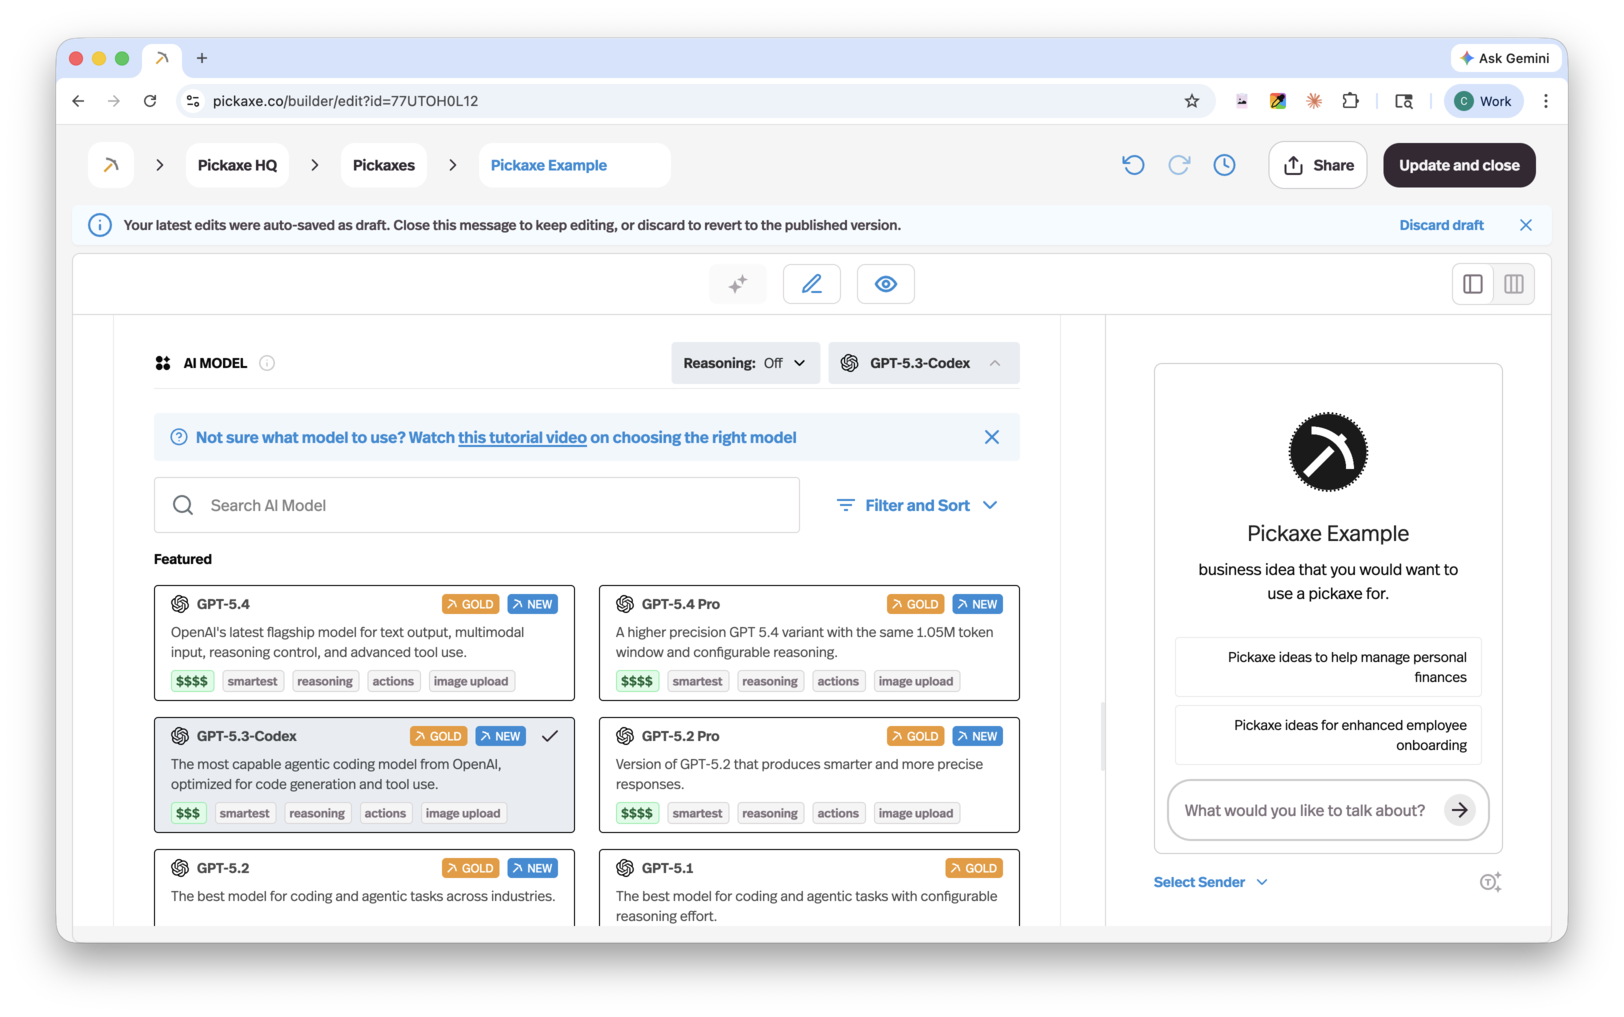
Different models respond to the same prompt very differently. Don't treat the model choice as locked-in — try the same prompt across two or three and see which one matches your taste.

Experiment! The model holds mysteries…
Above all, test your prompts. Test them over and over until you're getting results you like.
Try things. We're dealing with LLMs — Large Language Models. You're communicating with them through natural language, not code. And just like with humans, there's no single right register. Some people are structured and dry, others are expressive and figurative. You might find you love using examples and lean on them for everything. There are no absolute rules like there are in programming.
A great way to experiment is with prompt frames — prompts where you punch holes for variables and run the same prompt with slightly different inputs. The Pickaxe Agent Builder is built around exactly this loop. Once you have a prompt frame, you can deploy your agent to a Portal, embed it on your site, or hand it to users — and see how real prompts hold up against real inputs. If you want a worked example, the walkthrough on building an FAQ answer bot is a good place to start.
The only advice left is to start writing and testing.
Go forth, young prompt designer.